nav bar

about metutorialsmy housecontact me
Showing posts with label DIY. Show all posts

Friday, May 1, 2015

Home Tour {kitchen progress}

I'm going to share changes we have made in the kitchen, mostly with the magic of paint.... a lot of paint.  We actually completed what we have done several months ago when I was still pregnant, but with third trimester and new baby, little gets done {including blog posts}.  Better late than never though...

You can see a lot of "before" house pictures here to see what the entire house looked like before we did anything to it.  I'll re-post some "before" kitchen photos though to show you where all the paint had to come in...


The two pictures above are even after we switched out the light fixtures over the island... I didn't get a great picture of the two HUGE chandeliers that used to be there except for this pic I snapped with my phone as Caleb and his dad were taking them down...
They hung right in your sight line when you were looking at someone on the other side of the island, plus they are just really not my style.

And the small eat-in area...

Soooo pumpkin orange and brownish/purple really weren't doing it for me... here's the now...


I choose black for the cabinets because I wasn't about to do four coats of white to try and cover the previous colors.  Two coats of black did the trick! I also choose a flat black paint to get a matte look... maybe that wasn't very smart of me since semi gloss is traditionally used for cabinets.  Only time will tell... right now my Norwex cloth wipes little marks off just fine.


I'm still a little unsure about the floors, I really don't like the color.  Too reminiscent of the previous colors I guess.  It's not in the budget to replace them, but maybe a heavy duty deck/porch paint? Some people think I'm crazy when I throw out that idea... again, time will tell.

I've constantly been on the hunt for a small antique table to put in this corner with two or three chairs. Hoping to hit that jackpot soon.

We had to do some cabinetry changes to get started... the previous owner had the dishwasher raised up so that you didn't have to bend over as far when loading and unloading.  I wasn't a fan because it took away from useable counter space that I already don't have a ton of.  So we lowered it down to normal height, which meant we needed to get a new counter top because the granite stopped and there was just a stainless steel counter over the dishwasher.  Fine with me... I didn't really like the granite anyway.  A local company made us a new cabinet for the opposite side of the dishwasher that matched the cabinets for about $150.

The new counters are birch butcher block from Ikea.  I finished them with a coating called Waterlox that lots of other bloggers with Ikea counter's had used.  I'm not sure I'd use it again... I would be interested to see what someone who just used the tung oil that Ikea sells thought about their finish and durability.  The Waterlox is just a lot of work to apply and it does bring out a very warm tone in the wood {which I don't necessarily dislike}.  But maybe since I have butcher block next to my sink it's necessary to use a Waterlox-like product, I don't know.  It does cause liquid to "bead up" when it gets on the counter, which is good.


This picture really shows some of quirks of the cabinets, they definitely aren't perfect.  There are also two styles of cabinetry in the kitchen.  It has a very cottage-like, mismatch quality to it. This "reno" is all about embracing that and making it look as good as possible without replacing much. :)  The drawer pulls and knobs are brass... duh. Who doesn't love brass right now?!

The pendants, also brassy, I bought long ago when we first moved in.  Love them.

The sink is new, and no it's not under mount... obvi.  An under mount sink would have meant really perfect cuts made in the butcher block {by us, we installed it ourselves, with help}, plus sanding the cut edges with a tool we don't have, and extra treatment of the Waterlox stuff... like 6 layers of it... so I read.  No thanks, I think the over mount looks fine and putting it in with the counters was much easier!

The wall behind the sink desperately needs tile and open shelving... that's on the to-do list, maybe this summer!  Once I have open shelving I can clear my counters off! Plus my everyday dishes are plain white, so they can go up there too!
the writing on my glass containers is a product of a long nap by Reid and a new chalk marker for myself :)

I do love how some of my dishes stand out against the black...


One thing I desperately need to do is put fabric or something under the screen that is the top half of our pantry door.  I mean...why? Why would a person make their pantry door see through...? Also, too bad I didn't organize my pantry before I took this picture.  Real life people.

Well that's the progress folks...


Sources:
Wall paint color: BM Classic Gray {mixed in SW paint}
Trim paint color: SW Simply White
Cabinet pain color: BM Black Panther {mixed in SW paint}
Counters: Ikea birch butcher block
Brass hardware: Martha Stewart line at Home Depot {online}
Recipe box: Rifle Paper Co.
Brass Pineapple: antique
Stools in kitchen: antiques
White cast iron sink: Home Depot
Glass containers: Target & Hobby Lobby
Colored bowls: Anthropologie
Island pendants: Etsy

Saturday, January 19, 2013

DIY {A-frame tents tutorial}

A while back I mentioned I would share about some Christmas presents I made for all the kids in our family.  Caleb side has 6 nieces and nephews {with 1 more on the way}, and my side has 1 niece.  So with 7 kids to buy for coming off a year where I barely worked due to school, we needed to come up with a fun gift that also didn't brake the bank!  Of course Pinterest served as my main area for inspiration, and I came across this tutorial for making A-frame tents from the blog Cakies.  I decided to make 4 tents, one tent per family.  I pretty much followed the tutorial but I'll let you in on my process for making the tents...

www.laurie-freshpicked.blogspot.com

SUPPLIES FOR A-FRAME (per tent)
- 4, 1"x2"x48" wood molding pieces
- 1, 3/4"x48" poplar dowel rod
- drill
- 3/4" spade drill bit
- ruler & pencil
- twine
- sanding block
- stain/sealer (optional)

Caleb did all of the wood working for the tents so I don't have any pictures but the process is pretty simple.  First I had him sand down all of the molding pieces just in case there were any splinters.  Then he made sure all of the molding pieces were exactly the same length and trimmed up any that weren't.  {SIDE NOTE: since I was making 4 tents, I bought several 12 foot molding pieces from Home Depot and they cut them into the 4 foot pieces for me - so there were a few that were just a tad off and I was just wanting to make sure that each group of 4 boards that would make 1 tent were all the same length}  Once he had all the molding boards grouped into 4 sets of 4, he measured from the top of the boards down 6 inches and made a mark in the center of the board where he would drill.  The drilling made the hole for the dowel rod and...voila', you can now construct the A-frame!  We decided to use some clear stain/sealer over the boards just to give them a nice smooth finish so that it wouldn't be rough on the little ones' hands if they grabbed the boards.  The twine is to tie the tops and the joints of the pieces together because it can be a little wobbly... the Cakies tutorial said that the dowel rod fit extremely snugly into the drilled hole that she didn't have to use the twine, but that wasn't the case for us.

SUPPLIES FOR TENT
- 1 twin sheet or piece of fabric {hemmed to apprx. 44"x83" -- the measurement doesn't have to be perfect}
- sewing machine & thread
- elastic strips: 4, 5" strips per tent
- scissors
- ruler

Hem the fabric to the measurement above and it doesn't need to be perfect.  Then fold over the elastic to make a loop coming off of all four corners of the tent - the strips should come off at a perpendicular angle from each bottom corner -- does that make sense?

Sewing on elastic strips to the tents


SUPPLIES FOR DECORATING
- 1 sack of potatoes!
- Knife to carve out design in potatoes
- Acrylic or fabric paint (I used acrylic because I had better acrylic colors)
- Scrap cardboard or other protective material to put under the sheet as your paint it
- Straight edge (I use a long metal ruler we have)

Get your area ready to use the potato to stamp out your design.  I had to do the stamping in my kitchen on my hardwood floors because its the biggest space in my house to lay everything out, so I made sure all my floors around me were protected! Then I carved out my designs in the potatoes...I tired to keep my designs fairly simple since I was making 4 tents. {SIDE NOTE: the potatoes don't last overnight once you've carved one because then the sides wilt and it won't look good -- I learned this the hard way & had to re-carve the next day} 

Potato stamping supplies

I found the area to start stamping on my tents by folding the sheet in half {like how it would hang on the tent} and measured down from there several inches and then used my long straight edge to make sure I was stamping in a straight line.

Some of the different patterns I did

 Let the one side dry -- I hung mine over my banister railing to dry -- then do the opposite side! Then assemble your tents...

The assembled tent {without the twine wrapped around}


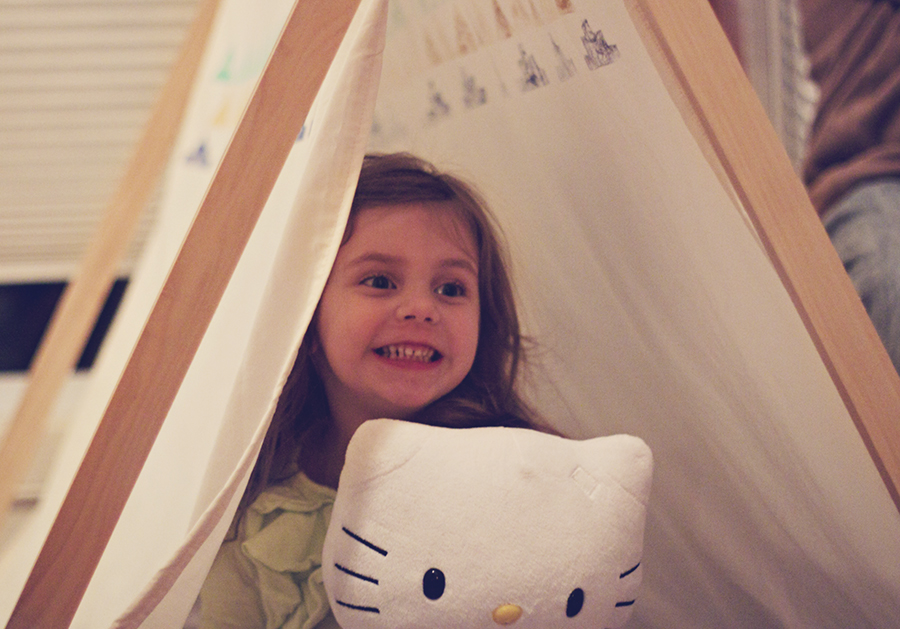
 Then let the kids enjoy!

Lainey

Kamrin

Isaiah

 Hope you enjoy this project as much as I did!


Saturday, December 22, 2012

Christmas decor

Merry Christmas!


I'm posting this a little later in the Christmas season than I had hoped, but I thought I'd share how I decorated this year.  I started a few weeks ago showing you my Christmas printables and then how I made my Joy to the World map, all seen on this wall...

Here is a close up of the Oh Holy Night printable in an Ikea frame.
Oh Holy Night printable - found here

I added an ampersand because those seem to be a bit of trend right now... and I liked it!  I bought a cardboard one from a craft store, painted the edges a mustard/gold color, and modge-podged some paper I had left over to the top.  The picture seen here is one I took on our summer vacation to Colorado in a thrift store frame.


Next, our tree!  We started getting a real tree last year and fell in love.  The only pics of the whole tree I have were taken with my phone:
 You may notice in this picture the mantle decor started different.. that's real garland but it turns out its not a good idea for real garland to be right above a frequently used fireplace.  The garland started drying out and turning brown in the hottest places, so it got bumped to outside.


Our ceilings are also very high in the living room so we have room for a tall tree.  This year our tree is about 9 feet tall.  She's a beaut!  I don't have a particular Christmas tree "theme" but I am drawn to the woodland creatures as ornaments.  Here are some of my favorites...
From left to right, top row: Polar bear from West Elm, wooden candy cane from Target (few years ago), burlap reindeer from Target (few years ago); Bottom row: wooden moose from my childhood, bottle brush penguin from West Elm, bottle brush fox from West Elm

Then there's my ever-changing mantel... my plaster frame is of course a staple in my mantel decor, as well as books.  Then I used some antique owl bookends I spray-painted white, fake evergreen from JoAnn's, and some very large pine cones my mother gave to me.


For the pine cone garland, I screwed brass eyes into the top of the pine cones and then used baker's twine to connect them.


Also on the mantle are some Christmas jars I put together.  I loved the look of the Christmas snow globes that are all over Pinterest, but I wanted to do something cleaner and quicker.  I saw the idea to do a Christmas jar without the water/glycerin part of it.  It also makes it to where I can easily reuse the jars and its not a big clean up.  I bought small deer figurines at Hobby Lobby and used the same spray adhesive I used on my Joy to the World map to spray them down before dumping glitter on them.  I repeated the adhesive spray/glitter portion until it was well covered.  I used sugar as the snow and I bought the bottle brush trees from Hobby Lobby {which were orginally green} and soaked them in bleach and hot water to make them white.


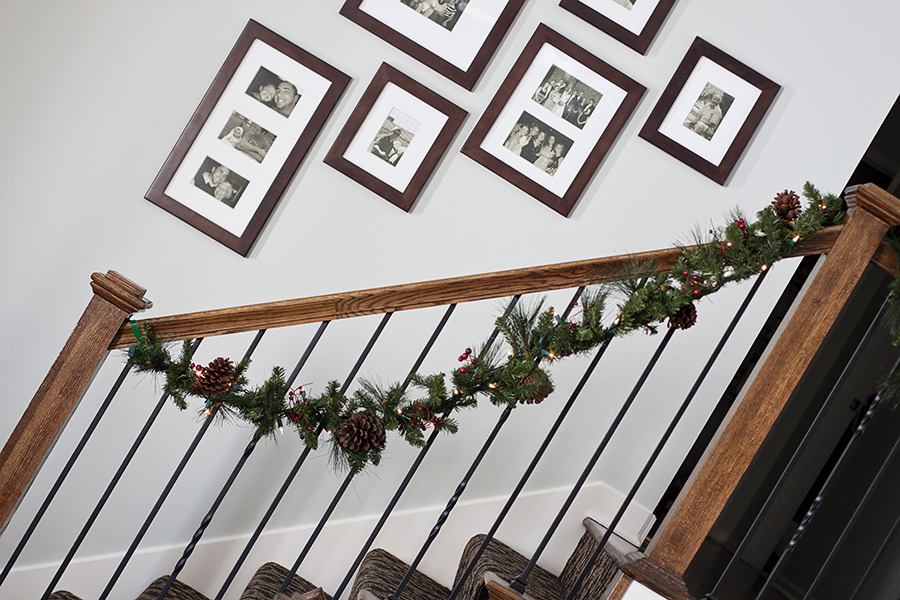
We also have lighted garlands on the railings...


In the kitchen I add a little color with tea towels and rugs.  My rugs are from Target a few years ago, they also happen to be a popular place to lounge in the kitchen...

Above the sink I filled some of my jars with evergreen scraps from the tree and and cranberries into water filled jars...

I also like to get a Poinsettia every year... the faded red/pinkish color is my favorite.


On my table I have the same thing I've had since Thanksgiving, a mixture of brass candle holders, all from thrift stores, and glass containers with tapers.

Hope everyone has a very Merry Christmas! I hope to post about some gifts I'm making for the children on both sides of the family soon!

Monday, December 10, 2012

{Joy to the World} map

I've really been loving some of the map & globe trends lately, so I really wanted to make something with that map or globe them with "Joy to the World" on it for the Christmas season. I also wanted it to be fairly big to take up some of my blank wall space in my living room. Here's what I ended up with and below I'll take you through the steps I used...


My inspiration really came from Lindsay Letters, an AMAZING calligrapher and artist whose handwriting styles are my absolute favorite.  Some things she have done that really inspired me are things like this:
A beautiful "Come Thou Fount" quote print
 & this:
A "Peace on Earth" canvas for a mere $200!
 both can be found on her website by the way.  I'd also seen tons of her work on Pinterest too and I looked at several of those items to try and copy her seamless, flow-y handwriting.

To start my project I gathered my supplies, I needed the map itself, I found one at Paper Source (location near me on the Plaza) for $4:

Also a cutting mat, rotary cutting tool, exacto knife, large ruler {owned all of these}, spray adhesive {$6} and a large piece of foam board {$2}.  I got the last two both from Hobby Lobby, and used a coupon on the spray adhesive to get it for less $!

I need to cut down the foam board a bit so that is what the large ruler and rotary cutter were used for.  Then I attached the map to the foam board using the spray adhesive.  To start that process it looked like this:
I just started on one edge and sprayed the corners a little and line it up with the foam board.  Then I gradually went along spraying about another 6 inches or so with the spray and carefully smoothing the paper out with my hand so I would not get any bumps or bubbles.  This process was much easier than I expected and it went on quite nicely.  I would suggested using some newspaper or other scrap paper around your area because the spray adhesive will get on your surrounding surface.

Next I drew out what I wanted my words to look like on just regular computer paper.  I made the letters the size I wanted because I also used this as a stencil.  Once I had them drawn out I cut out my letters {not my little swirlies on the side though} using the exacto knife.  Then I traced them onto the map and added my swirls and some of the other smaller details I didn't take the time to cut out.  Using the stencil in the first place was partly because I didn't want to keep erasing on this paper, afraid I'd erase off the map design or rip up the paper.  Here's the map after using my stencil on the word "joy":

Towards the end I got more comfortable drawing straight on the map and didn't stencil every single word.  After that I just painted in the letters with fine paint brushes and white acrylic paint.  I had to go over each letter several times to get good paint coverage.

To hang it I just used twine and a nail.  Taped the twine to the back of the foam board with strong clear packing tape.  And of course enlisted my handy helper...


I'm pretty happy with the results!


More on the rest of that wall and other Christmas decor later.  And no, that's not my BOO sign hiding behind the Christmas tree... okay it is... :(  That will be gone by next post!